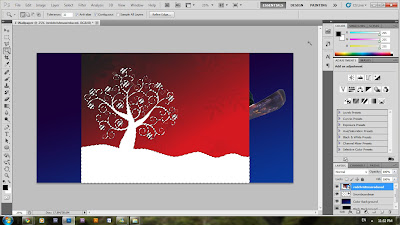
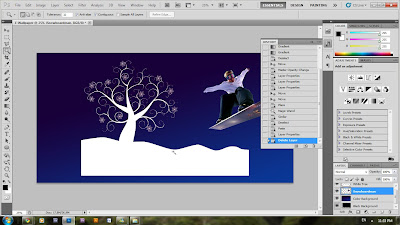
Let's START!!!
1st step: Open a new file. I choose landscape. (295 x 150 pixel)
2nd step: choose a picture. Click File>Open>image.
3rd step: After you import your first layer, NAME IT! my pic, i name it as "Snowboard Man".
4th step: use Quick Mask Tool, use brush to shade on the parts that you want.
Prefer zoom in and use smaller brush to make it more detail.
After you have done with the shading, deselect the Quick Mask Tool, and click on the "add a pixel mask".

5th step: click "Create a new layer" in the bottom button on the bottom of right hand side.
7th step: Open another picture. Use Magic Wand to select the white part of the tree.
8th step: right hand click on the marquee area, select "similar"...as a result, all white colored part of the image will be selected.


9th step: after you select the white part that you want, Ctrl+C and then Ctrl + V, to copy and paste the area that you want. Delete the original tree image, and name you newly formed layer as "red tree".


10th step: use Move Tool to move the image to the position that you like. Lower it's opacity.
To be Continue.


No comments:
Post a Comment