Thursday, November 18, 2010

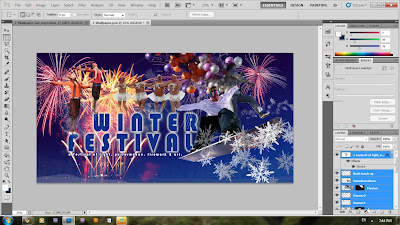
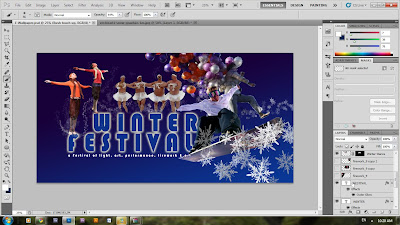
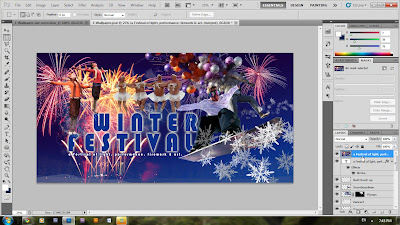
Final E-wallpaper after size correction.

Ops! Assignment must be in A4 format. Here is the correction.
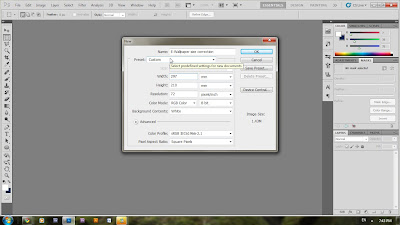
step 1: Open a new psd project file and name it as "E-wallpaper size correction", and choose the format of A4. Resolution 72 bit.

step 2: Open the previous project, select all layers.
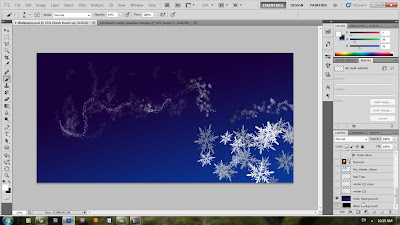
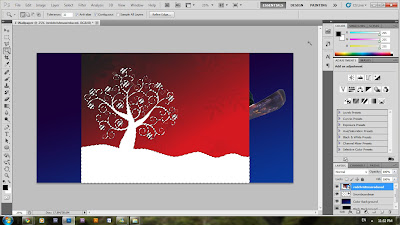
create a merged layer from all the layers by clicking Ctrl+Alt+E. Merged layer created, like the diagram below.
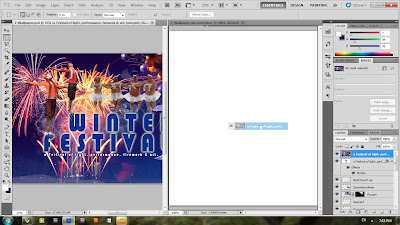
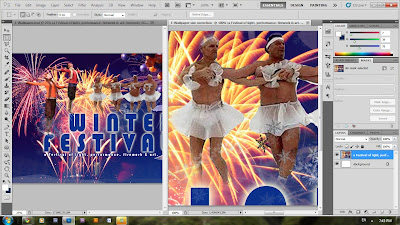
step 3: Arrange Documents to 2 up format. Drag the Layer of "merged layer" to the A4 that we newly create.

step 4: Click Ctrl+T to transform the Size of the image to the suitable size.
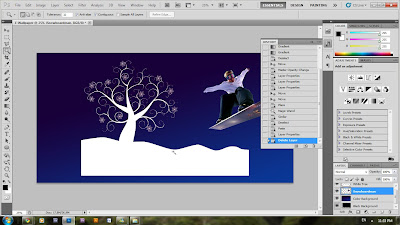
step 5: Create a new layer, name it as "White Border". Use "Soft Round Brush Tool", to create the white border at the top and bottom of the image.
step 6: Create a new layer, name it as "Snow Border". Use "Ice 1 Brush Tool" that we created in the previous time, and draw a delighting border on the white border.

step 7: Choose different clor of brush to touch up the border to make it more 3D.

Double touch up.


WE ARE FINALLY DONE~

Newly A4 E-wallpaper of WINTER FESTIVAL.


Wednesday, November 17, 2010

E-wallpaper FINAL


WINTER FESTIVAL!


E-wallpaper of 110 270 1981 KU YEONG LUN.


Here, are my sources.


E-wallpaper 3

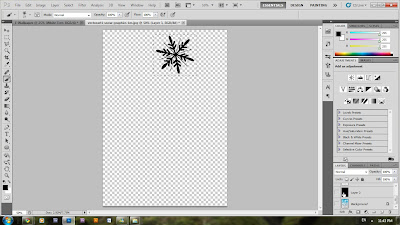
17th step: import a image of ice crystal, we need it to define a new brush preset.

Use "Magic Wand Tool" to select one of the crystal, the image will be easily selected because it's one color.

18th step: A doted crystal shape will appear. Create a new layer, and use brush to make it colored black. invisible the original layer. Use "Square Marquee Tool" to select the Black Crystal.

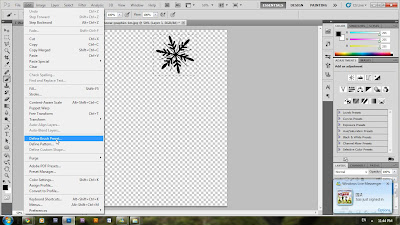
19th step: edit>Define Brush Preset. Name your brush. I named it as "Ice 1".

20th step: Apply the brush tool to the image that we edited.

Click on "Toggle the Brush Panel", edit the effect that you want your brush to be.

Create a new layer, name it as "brush touch up".

This is what the layer looks like.

21st step: Adjust the combination of all layers' size by using "Free Transform Tool".
Here is the result.

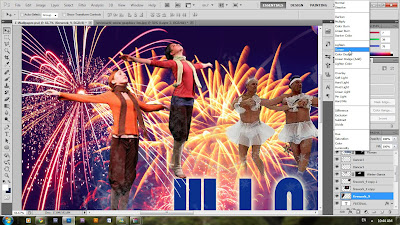
22nd step: Import Fireworks image to make a more fun background to the wallpaper.

Here are the two images of firework that i downloaded.

23rd step: Place the layers of fireworks to the lower position of layer bar.

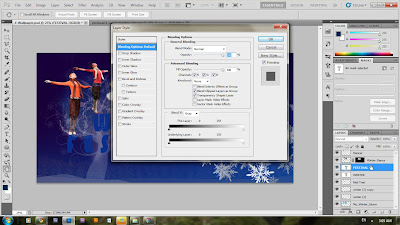
Adjust the "Blending mode for the layer", this time, we change the blend mode of the layers from "Normal" to "Lighten" or "Screen" mode.

24rd step: Add a Minor Typography.


DONE!

E-wallpaper 2

12th step: import new source. Name it as dancer. use Polygonal Lasso Tool to crop the image.
13th step: after finish using lasso tool to fully select the dancer, Ctrl+C and click Ctrl+V to copy paste it into new layer...the same thing goes for the another girl dancer.

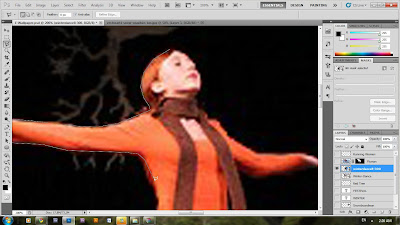
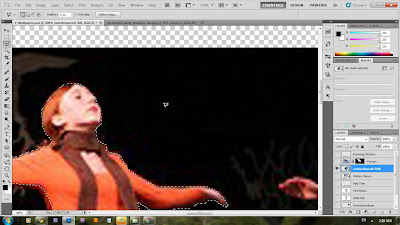
14th step: Import new image. Winder dance. This time, we use Quick Mask Tool.
Click on the button "Quick Mask Tool", Select the part of image that u want. (Red=wanted area)
Make it a ruff sketch here. Do it in detail in the next step.


15th step: Deselect "Quick Mask Tool", Doted line will appear. Click "add a pixel mask".
a clipped mask will appear beside the layer of winter dance.

Right now, when using black brush, it became an eraser's effect, it erase the part that you don't want. oppositely, white brush can recover the part that you erased. Zoom in and use smaller brush to do it more detail.

16th step: the same "Quick Mask Tool" technique use to this image too. Name it as Flyman.

To be Continue...

E-wallpaper 1

Let's START!!!

1st step: Open a new file. I choose landscape. (295 x 150 pixel)

2nd step: choose a picture. Click File>Open>image.

3rd step: After you import your first layer, NAME IT! my pic, i name it as "Snowboard Man".

4th step: use Quick Mask Tool, use brush to shade on the parts that you want.
Prefer zoom in and use smaller brush to make it more detail.
After you have done with the shading, deselect the Quick Mask Tool, and click on the "add a pixel mask".


5th step: click "Create a new layer" in the bottom button on the bottom of right hand side.

6th step: use gradient to shade a color tone onthe layer, and name it as "color background".

7th step: Open another picture. Use Magic Wand to select the white part of the tree.

8th step: right hand click on the marquee area, select "similar"...as a result, all white colored part of the image will be selected.

9th step: after you select the white part that you want, Ctrl+C and then Ctrl + V, to copy and paste the area that you want. Delete the original tree image, and name you newly formed layer as "red tree".

10th step: use Move Tool to move the image to the position that you like. Lower it's opacity.

11th step: Typography using Typo Tool...type "WINTER", and "FESTIVAL".

To be Continue.

Color Gamuts

    A gamut is the range of colors that a color system can display or print. The spectrum of colors seen by the human eye is wider than the gamut available in any color model.

    Among the color models used in Photoshop, L*a*b has the largest gamut, encompassing all colors in the RGB and CMYK gamuts. Typically, RGB gamuts contain the subset of these colors that can be viewed on a computer or television monitor (which emits red, green, and blue light). Therefore, some colors, such as pure cyan or pure yellow, can't be displayed accurately on a monitor.

    CMYK gamuts are smaller, consisting only of colors that can be printed using process-color inks. When colors that cannot be printed are displayed on-screen, they are referred to as out-of-gamut colors--that is, outside a CMYK gamut.

    Important: The gamut for an RGB or CMYK image depends on its document profile.


steps of how to solve the Gamut warning :

1.Open your image.

2. Press Shift + Ctrl + Y to access "Gamut Warning" or you can find it in "View >> Gamut Warning".

3. All pixels that fall outside of that particular profile’s gamut will be highlighted.

4. Choose " View > Proof Setup ", choose the proof profile you want to use. In this case, CMYK proof space is chosen by default.


5. Create a new Hue/ Saturation adjustment layer.
i. Drop down the option box to select the color you wish to adjust.

6. grey-highlighted part was disappear, it considered finish.
Click on the "Arrange Documents" icon on the application bar and choose " 2 Up" to compare the before and after.

Before and after Gamut Warning.
Work done.

Special thanks to Ah Wei Ting. XD